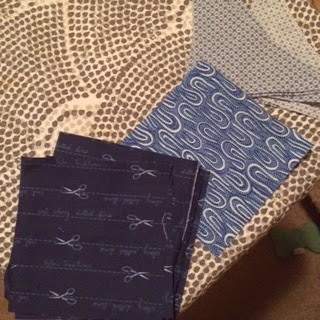
At our last meeting, I passed out bundles of fabric for making a blue wonky star block for a charity quilt. This one will be quilted by Corni and sent along to Camp Erin, a children's bereavement camp.

Here's how you make a star! Any questions, get a hold of Lindsey. There's also plenty of 12.5 inch wonky star block tutorials out there, try an internet search .
The block bundle contains 8 background 4.5 inch squares, 1 center 4.5 inch square, and 8 triangles for the star points.

The bundle pieces (left), and how they will all fit together in the final block (right).
To make the star points, use the 'flip and stitch' method. First lay the triangle over the corner of the square rights sides together like in this picture, and stitch a 1/4 inch seam. The angle you lay the triangle affects how 'wonky' the star point is. Try out some different angles!
Then trim away the background square that will be underneath the triangle once it's flipped over
Now, press.
Repeat for the other star point. Lay the triangle on the background, right sides together, and stitch a 1/4 inch seam.
Trim the background
Press, and then trim this completed star point block to 4.5 inches.
Make four of the star point blocks. Here you can all the block pieces all laid out.
Sew the pieces together in rows, then sew the rows together for the completed block.
Admire your completed block!


.jpg)
No comments:
Post a Comment